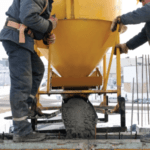
Let’s get one thing straight. Plain, gray concrete is best used in military bunkers. Other than that, it’s downright boring. What can you do to spice up your concrete patio, concrete counter-tops, and concrete floors? There’s one solution: stain it. Staining concrete takes time and effort, but the results are beautiful.
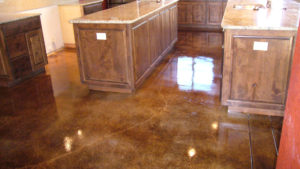
Types of Concrete Stain
If you’re a parent, the word “stain” probably doesn’t make you think of something beautiful or decorative. Nonetheless, concrete staining is a great way to turn a slab of gray into luxurious concrete with color or shine. Concrete experts generally use one of two ways to stain concrete: acid and water-based stains. Each one has a specific purpose, but which one should you use?
Acid Concrete Stains
- Acid stains are made up of metallic salt minerals dissolved into a water-acid mixture. The acid causes a chemical reaction during the curing process that permanently changes the concrete surface color and texture.
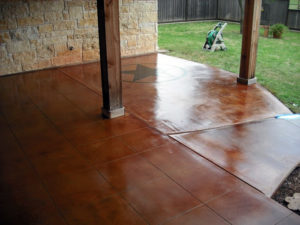
Non-Acid Concrete Stains
- Non-acid stains treat concrete differently than an acid stain. Instead of altering the structure of the concrete, non-acid stains create a layer over the concrete surface, filling pores and leaving behind a flat, smooth finish.
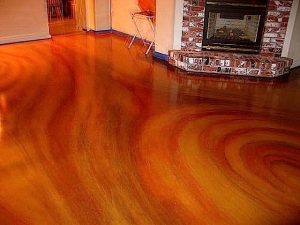
Concrete Staining Process
Do Your Prepwork
According to industry experts, the best way to stain concrete is as follows:
- Thoroughly clean and prepare concrete
- Apply concrete stain
- Clean up and neutralize concrete stain
- Seal concrete for lasting protection
In order to stain concrete, the concrete must be cured to its proper strength. This can take up to 48 hours, but with concrete curing products, this time can be nearly cut in half. Concrete Blankets help keep concrete at stable temperatures above 50°F, curing 2.8 times faster than open air curing. This is especially helpful when staining concrete in places where temperatures are variable or close to freezing. Make sure your concrete creation cures correctly.
Once it is cured, you can move on to the concrete staining process. Begin washing down the concrete surface. You don’t want any food crumbs or shoe scuff marks to get in the way of the stain, so make sure to give it a good scrub down. Also remove any layers of glue, sealers or curing membranes that might prevent the stain from coming in full contact with the concrete. Finally, apply a concrete acid cleanser to the project surface to ensure the concrete is as porous as possible. Once it has dried, rinse the concrete with water. Some concrete manufacturers, like Quikrete, even make their own cleaners, etchers, and de-greasers so you know you are using the best DIY staining products on your concrete.
Let The Staining Begin
After the concrete is no longer wet from rinsing, use a brush or roller to spread the stain across the project surface. If it’s a puddle you can splash in (don’t), it’s too thick. If it disappears right after applying it (i.e. it absorbed into the concrete), you need more.
Once your initial layer is down, allow 24 hours of drying before applying another layer of stain, even if it’s the same stain color.
Most concrete stains have difficulty drying in cold temperatures. If you must do a concrete staining project in the dead of winter, a Concrete Curing Blanket can save the day, allowing the stain to dry within a controlled environment.
Protect Your Project
You’re so close to being done! After the stain has dried, use a sealer or wax to protect the stain from dirt or grime that could change the color or texture over time. You’ll need to regularly clean the concrete surface, but don’t use powerful chemicals like bleach, vinegar or ammonia. Such solutions can damage stained concrete. And you wouldn’t want that, would you?
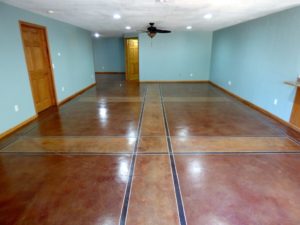
Finally, bask in your work. Enjoy the fruit of your labors and invite friends and family over to see your decoratively stained concrete.
Cure your concrete faster and better in cold weather conditions with Powerblanket.


